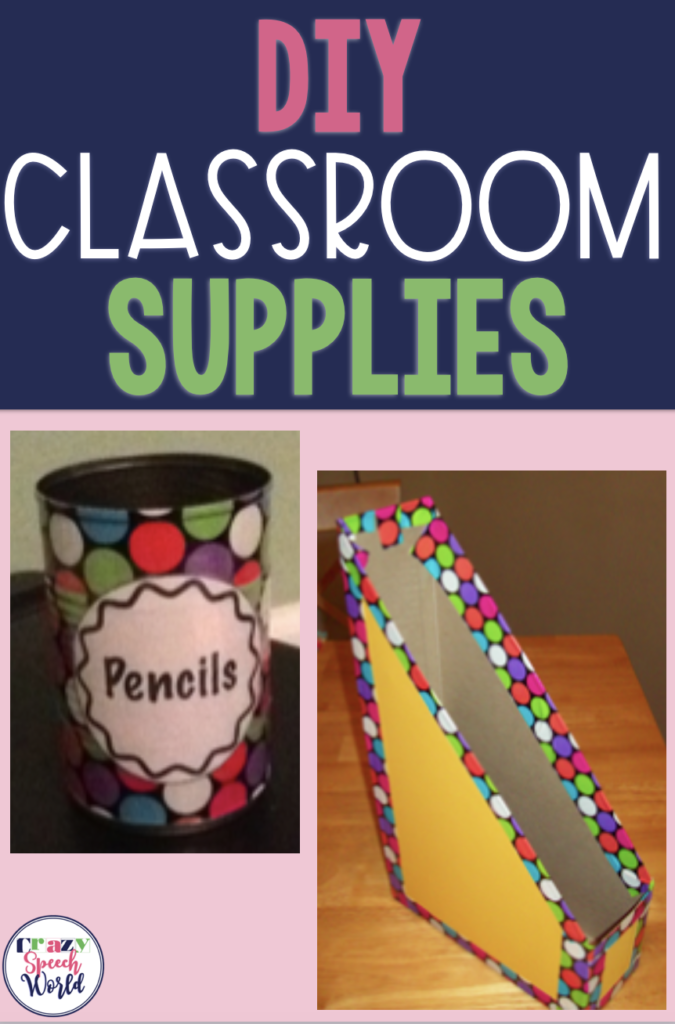
 Let’s talk about being a new SLP and not have ANY money for anything. I remember those days very clearly. It’s about that time that I started looking for more creative ways to have what I needed with what I already had!
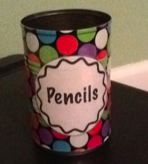 Pencil cup! All you need is an empty can (mine was green beans) and some of that wonderful stuff I love…DUCT TAPE! There are tons of can projects floating around Pinterest these days. This is such an easy project, anyone can do it! All I did was wash the can really well, wrap the tape around it, and slap on a label. I got the free labels over at From the Pond’s TPT Store. I think I am going to make a bunch of these and use them for storing markers, colored pencils, highlighters, etc.
A while back, I pinned this, which was an idea to use cereal boxes as magazine files. I thought it was a great idea since there is never a shortage of empty cereal boxes with my always starving son around. I gathered all my materials…
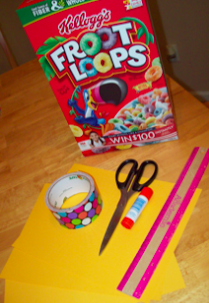 In the pin, they used wrapping paper, but I wanted something a little more durable. I thought about duct taping the whole thing, but decided against that and went with the duct tape/construction paper combo. I sort of winged the cutting of the cereal box. I didn’t measure anything, just used the ruler as a straight edge (I recognize some people are perfectionists… measure away!) Then, I used the cereal box as a template to cut the construction paper for each side. Once I glued the paper on, I edged in my polka dot duct tape! Again, I did not measure, which created some not so even tape, but I am totally okay with that!
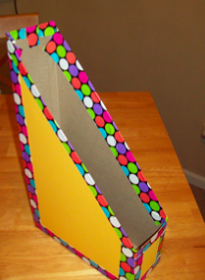 I’m totally happy with how this turned out and it only took about 20 minutes! Note that this particular cereal box does not fit binders or the 3 prong folders, but does work for some children’s books, composition books, spiral notebooks and other materials. It depends on what kind of box you have.
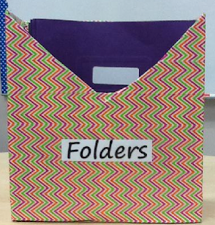 When I started thinking about what I was going to do with it, there was a Super Duper box sitting on my floor next to a pile of student folders… lightbulb! I need folder storage! So I got to cutting and taping…I cut one end flap off and a “v” on the front, then I re-taped the seams and I also made sure to tape the flaps down on the inside of the box with packing tape, just for extra reinforcement. Then, I just wrapped duct tape all the way around. It seriously only took about 10 minutes from start to finish.
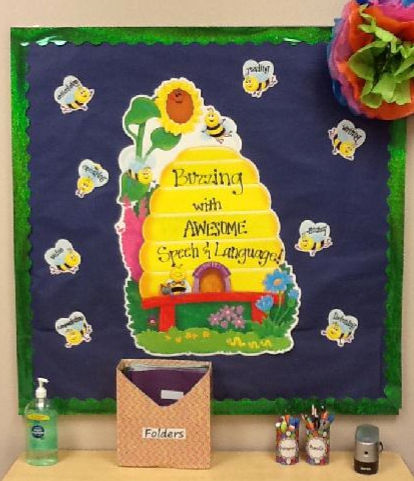
If you ask me, it looks great next to my DIY cups which hold pencils and highlighters. Students will throw their folders in there when they don’t have homework to take home!
What do you think? What else could you make with recycled containers and duct tape?


![Using open ended activities and games in speech therapy can make planning sessions so much easier! Here are a few suggestions that worked well for me. Do you remember the first time you were faced with a mixed group and were realllllllllly unsure about what to do? I do… picture it, St. Augustine 2007 😅 I was […]](https://i.pinimg.com/236x/db/72/cf/db72cf1f6f5da00cb2a13a90872871ea.jpg)
![Using open ended activities and games in speech therapy can make planning sessions so much easier! Here are a few suggestions that worked well for me. Do you remember the first time you were faced with a mixed group and were realllllllllly unsure about what to do? I do… picture it, St. Augustine 2007 😅 I was […]](https://i.pinimg.com/236x/ae/c5/56/aec55688010e2d3489baf744dde59582.jpg)
![Using open ended activities and games in speech therapy can make planning sessions so much easier! Here are a few suggestions that worked well for me. Do you remember the first time you were faced with a mixed group and were realllllllllly unsure about what to do? I do… picture it, St. Augustine 2007 😅 I was […]](https://i.pinimg.com/236x/18/b9/e8/18b9e80227dfe1789e20a21629254f79.jpg)
![Using open ended activities and games in speech therapy can make planning sessions so much easier! Here are a few suggestions that worked well for me. Do you remember the first time you were faced with a mixed group and were realllllllllly unsure about what to do? I do… picture it, St. Augustine 2007 😅 I was […]](https://i.pinimg.com/236x/4d/34/85/4d3485a753178d000223a89b09162317.jpg)
![Using open ended activities and games in speech therapy can make planning sessions so much easier! Here are a few suggestions that worked well for me. Do you remember the first time you were faced with a mixed group and were realllllllllly unsure about what to do? I do… picture it, St. Augustine 2007 😅 I was […]](https://i.pinimg.com/236x/da/7b/c1/da7bc16b9530451d989a578236bc2bff.jpg)
![Using open ended activities and games in speech therapy can make planning sessions so much easier! Here are a few suggestions that worked well for me. Do you remember the first time you were faced with a mixed group and were realllllllllly unsure about what to do? I do… picture it, St. Augustine 2007 😅 I was […]](https://i.pinimg.com/236x/e0/21/a4/e021a465474b16201d23d0a77857935b.jpg)
![Using open ended activities and games in speech therapy can make planning sessions so much easier! Here are a few suggestions that worked well for me. Do you remember the first time you were faced with a mixed group and were realllllllllly unsure about what to do? I do… picture it, St. Augustine 2007 😅 I was […]](https://i.pinimg.com/236x/fa/94/be/fa94be15b6f184b64e2e408bc762a7e8.jpg)

Cute! I never use cans, but I made my own version of this with a pickle jar. I’m going to post it on my FB page and tag you in it. 🙂
Thanks! Oh, I can’t wait to see it!!!
Cute – I haven’t thought of doing this with cans! I’m so going to try this 🙂 THanks!
– Sasha
The Autism Helper
Thanks! It was super fast and easy!